由于公司最近打击盗版比较严厉,之前用的Virtual Box安装的原版盗版XP也就没法继续用了,在双哥的指引写一篇关于微软官方自家的正版Virtual PC + 正版XP的虚拟机配置和基础使用教程,仅供大家参考咯~闲话少说,直奔主题.
准备工作
- 拥有一台WINDOW 7专业版或更高级版本的电脑(本机适用的64 bit专业版)
- 下载Windows Virtual PC安装程序(请注意下载对应版本)
- 下载Windows XP Mode安装程序
安装程序(步骤)
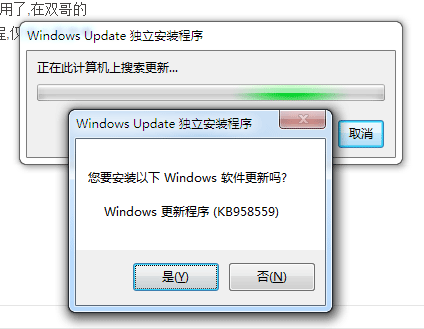

安装完后要求重启,那么重启电脑后安装XP MODE
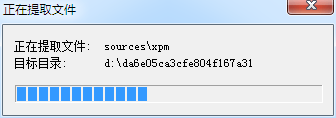
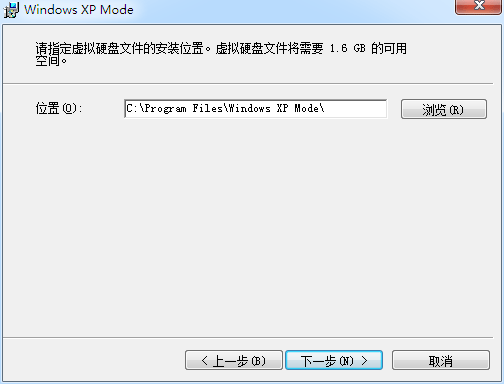
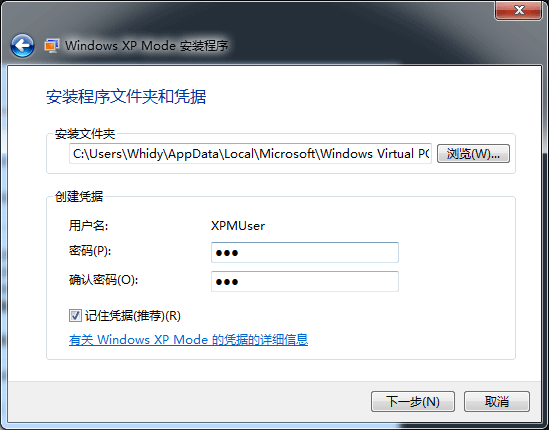
接下来解压完毕就是下一步了,不过有一步注意一下也是好的,见下图
然后完成安装后默认启动xp mode,接下来进行简单的配置工作…
配置工作
首先还是同意xx协议.紧接着如图
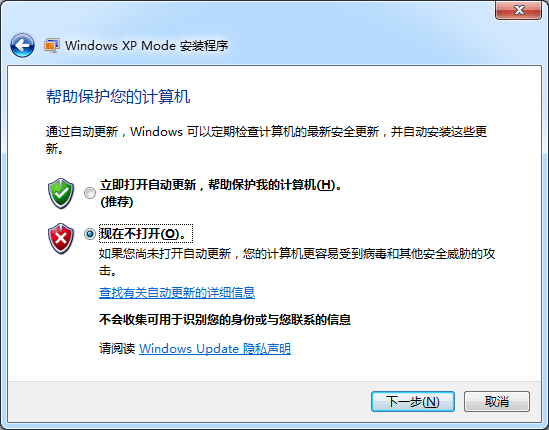
点击下一步,有帮助保护您的计算机的安装更新选项,为了省事我这里选择不更新
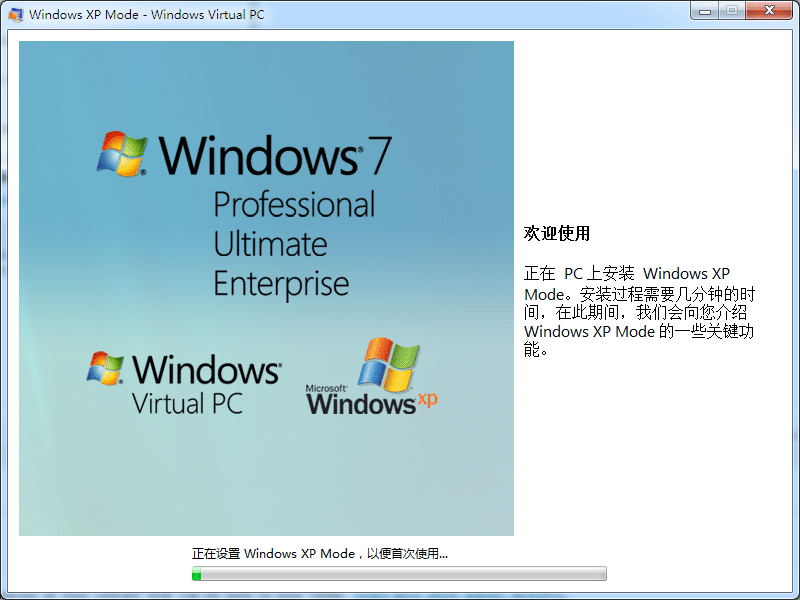
接下来启动本次安装的系统配置(实际上也就是启动虚拟机,可能需要点时间,耐心等待)如图:
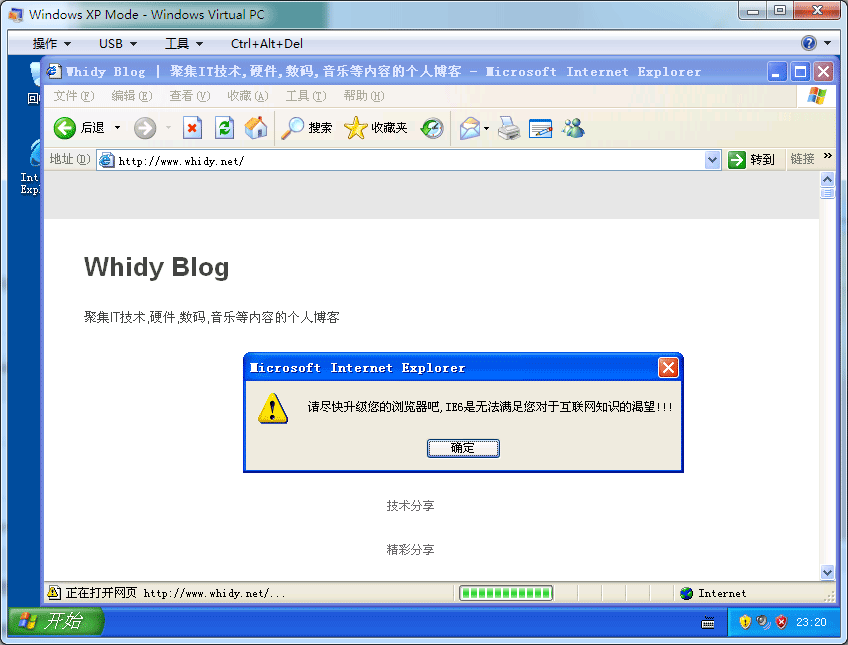
随后,只听到一阵熟悉的XP系统启动的声音,那么一个正版虚拟机就安装好了.如图,接下来的操作就不用我多说了吧~

此时一切就绪,一台装有IE6的原始版XP已经部署完毕!开始愉快的进行IE6的DEBUGS吧吧吧…
DEBUGS吧吧吧吧吧吧吧吧吧吧吧吧吧吧吧吧吧吧吧吧吧吧吧吧吧吧吧吧吧吧吧吧吧吧吧吧吧吧吧吧吧吧吧吧吧吧吧吧吧吧吧吧吧吧吧吧吧…
……..的确是为了debug…聪明!!!